|
Homebuilding
How to decide for homebuilding an aircraft?
Humans historic dream of flying is buried in each one of us.
A few years I tried to fly this way, but because of the short aspect ratio of my
arms the glide path was rather vertical.
Don’t misunderstand: Skydiving is sheer heaven but it’s just a short pleasure.
If you want to extend flights you need to have wings.

During my period of service as an aircraft-technician at the Dornier DO 28-fleet “Schinderhannes Air-Lines”
at Pferdsfeld air base (EDSP) I meet a ”homebuilder” first time.
Taking his Vari-Eeze as an example, Ingo Brand explained to me, that homebuilding an ”experimental-aircraft”
is possible even for ordinary people with reasonable financial load and substantial time investment.
According the motto
”There is just one proof for the ability - the deed -”
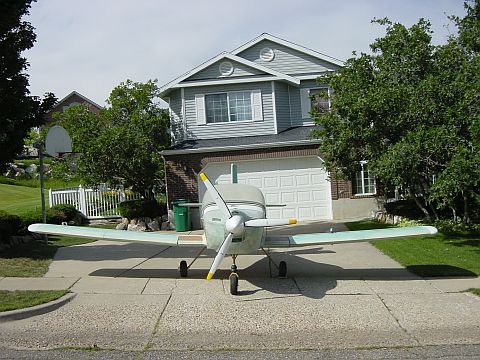
I decided to build a ”Cherry” BX-2.
First steps towards your own Experimental-aircraft !!!valid for Germany!!!:
- Acquisition of drawings and license for the ”Cherry” BX-2
- Joining the - experimental-aircraft-association - in Germany OUV ”Oskar-Ursinus-Vereinigung” www.ouv.de
- The association offers competent advice for homebuilding and prepares 3 reports regarding the project needed
in order to obtain a permit to fly issued by the LBA -Luftfahrt-Bundesamt- (German aviation-authority)
- Naming an inspector class 1 and registration of the project at the LBA
- Tool up a proper workshop with heating (Even living rooms were used for homebuilding)
- Purchasing material and off we go!
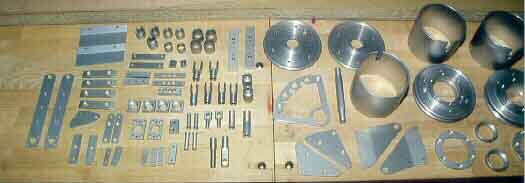
Building the ”Cherry” from drawings means there are no kits. Most of the needed parts are self-made.
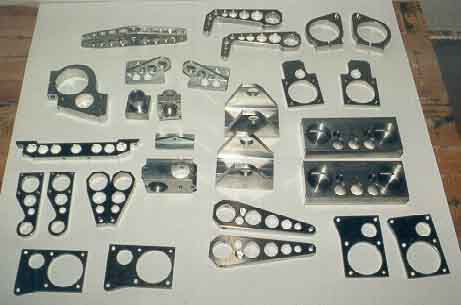
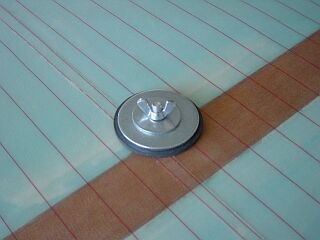
Aluminum-parts of the ”Cherry”
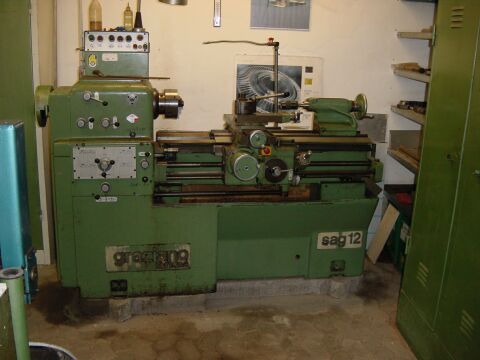
Lathe
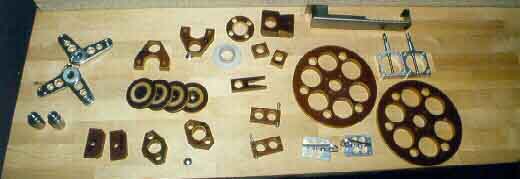
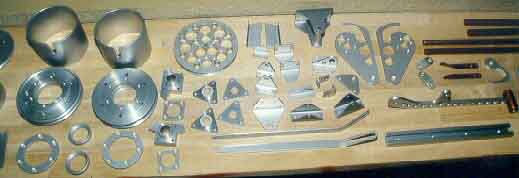
Phenolic-sheets are used for bearings and discs
Fittings, rods, wheel parts...
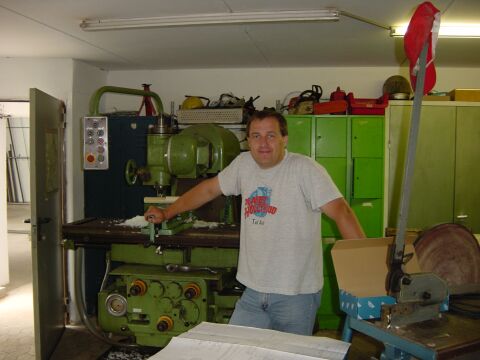
Me, working on my milling machine
...
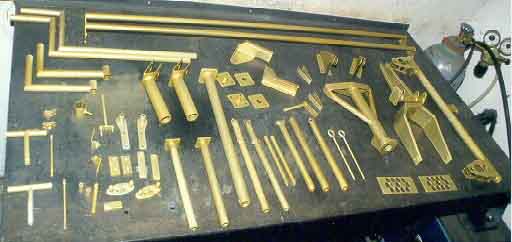
Steel parts (mainly CrMo)
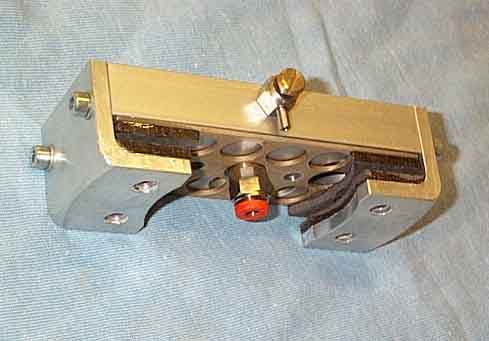
Hydraulic brake

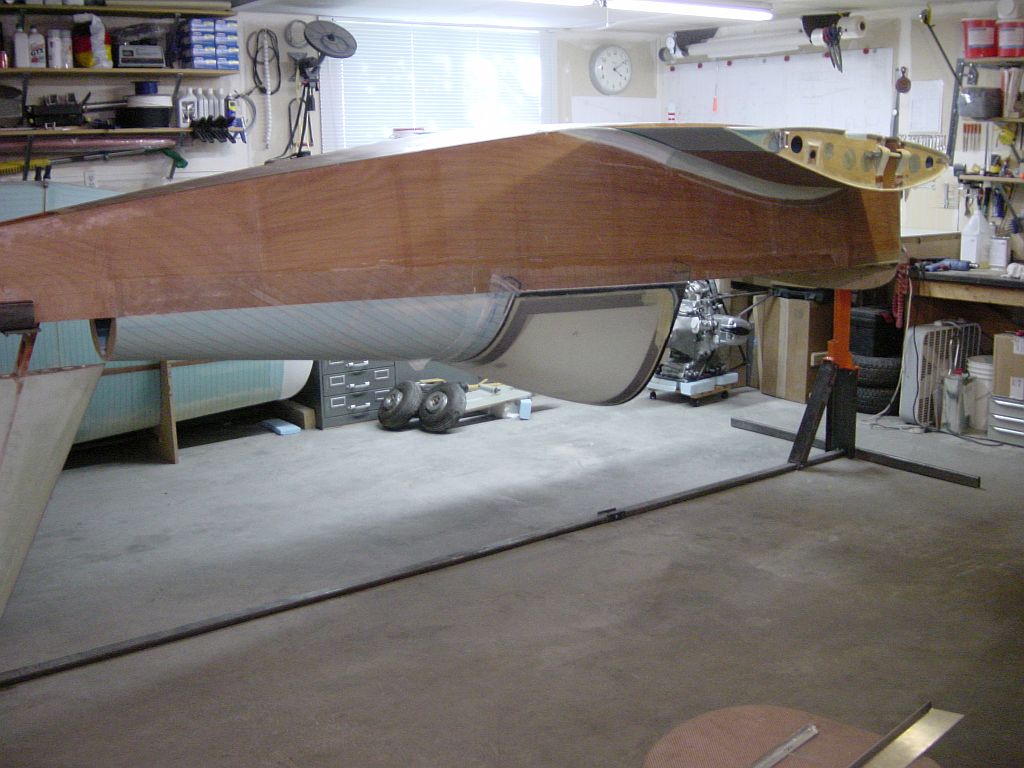
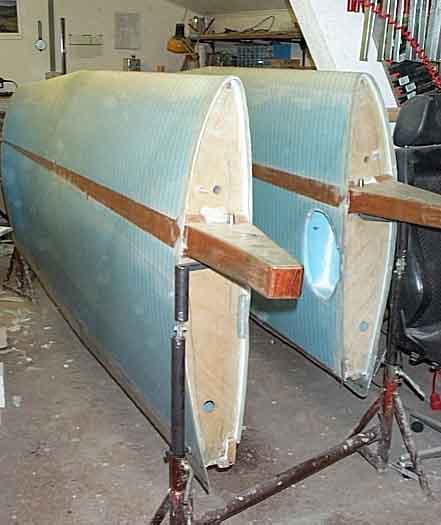
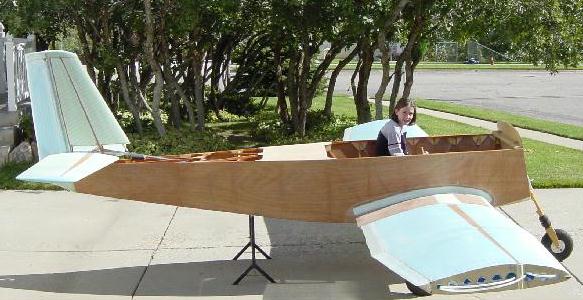
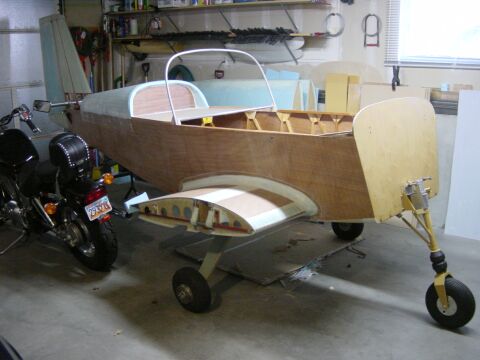
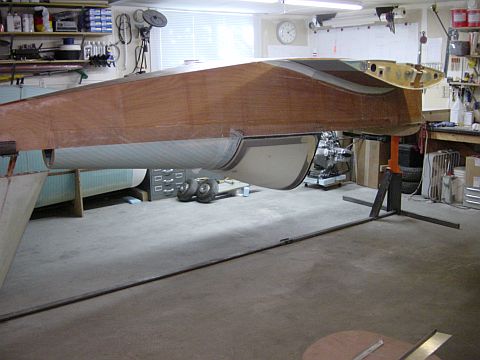
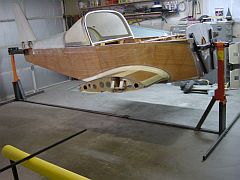
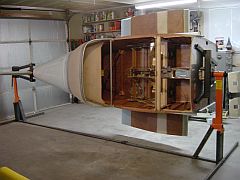
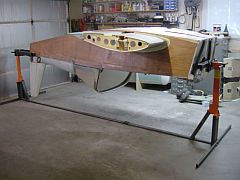
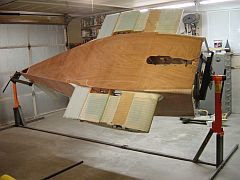
Fuselage on the assembly cradle (birch- and okume - plywood)
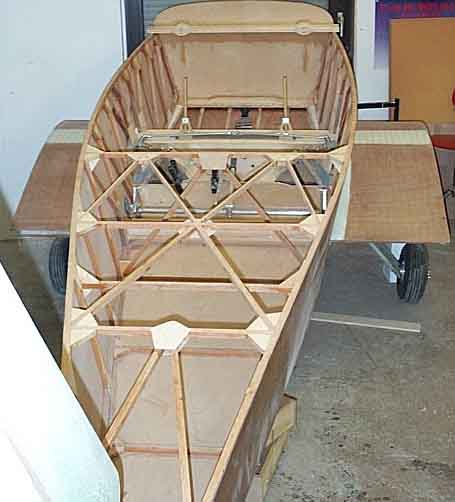
Fuselage with wing-stubs and retractable-gear
Wing-flange and landing-gear
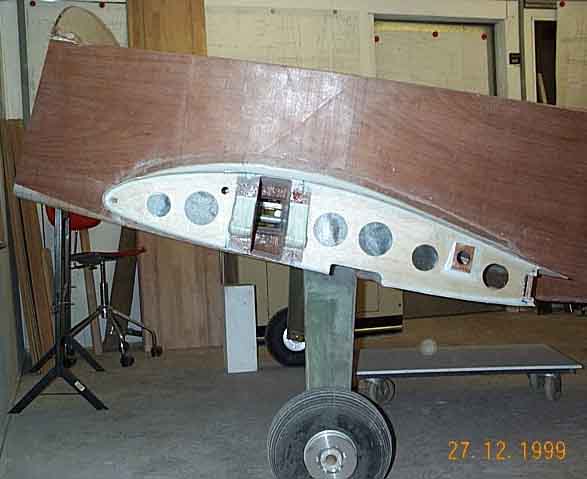
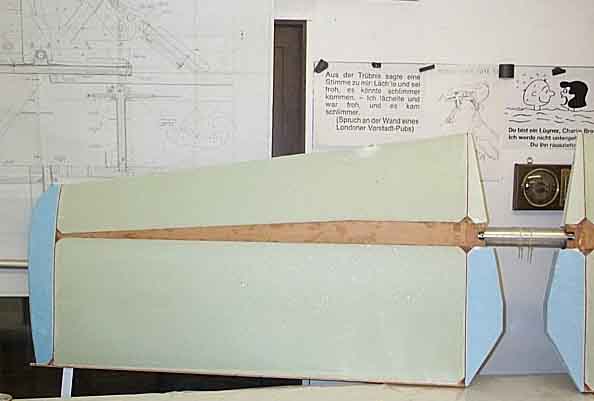
Wings
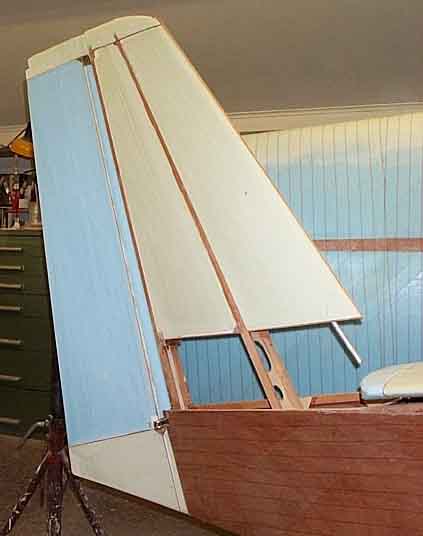
Vertical-fin and rudder
Vertical Stabilizer
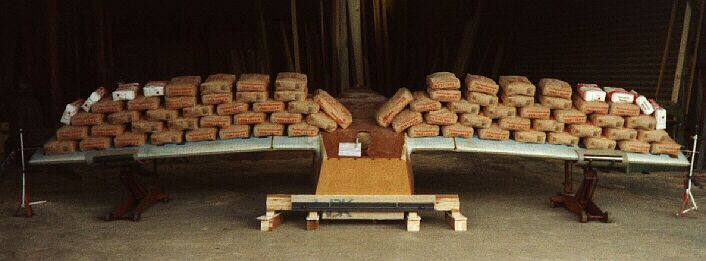
Load-test with 1820 kg (wing tip movement 85 mm)
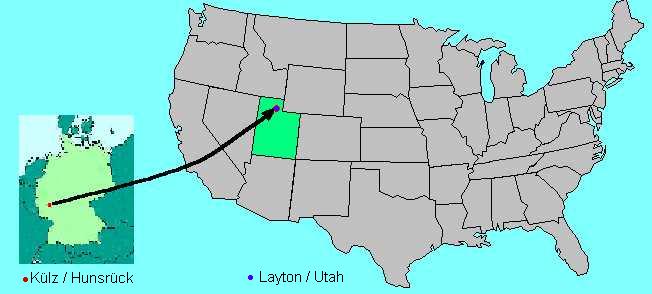
I got a 4 year-assignment as a liaison-officer for the Luftwaffe at Hill, AFB, Utah / USA in 2001.
Sure enough, my Cherry-project moved along with us...
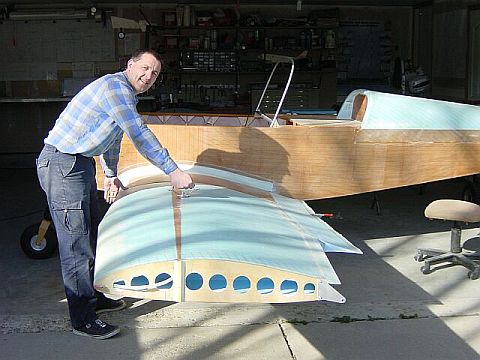
Support from my daughter Hanne for assembling
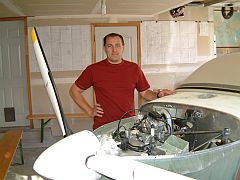
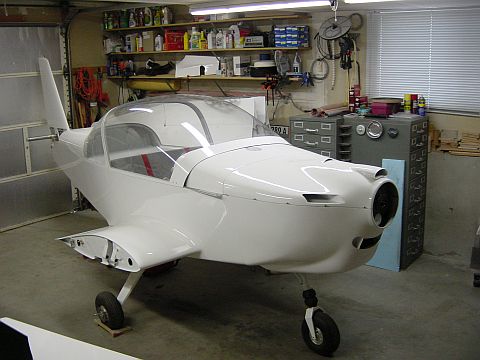
... in the Garage ...
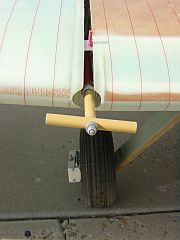
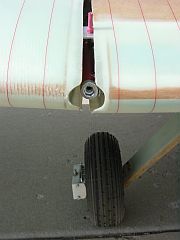
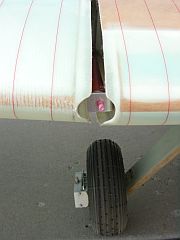
Before I closed the wing structure years ago, I attached another tie down point about 75 cm from rib C
(like the one on the outside of the wing-spar) to enable me mounting the 30 kg light wing on my own.
On purpose the handle is not in the wings center of gravity to ease guiding the wing. It works great!!!
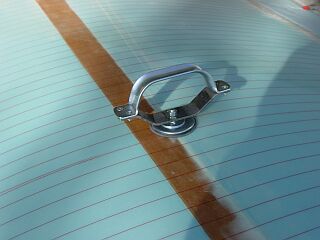 
The handle is on top of the wing, a few washers and rubber-washers, and a M8 wing nut underneath.
To protect the wood from moisture, I glued aluminum tubes 10/8 inside all tie down points.

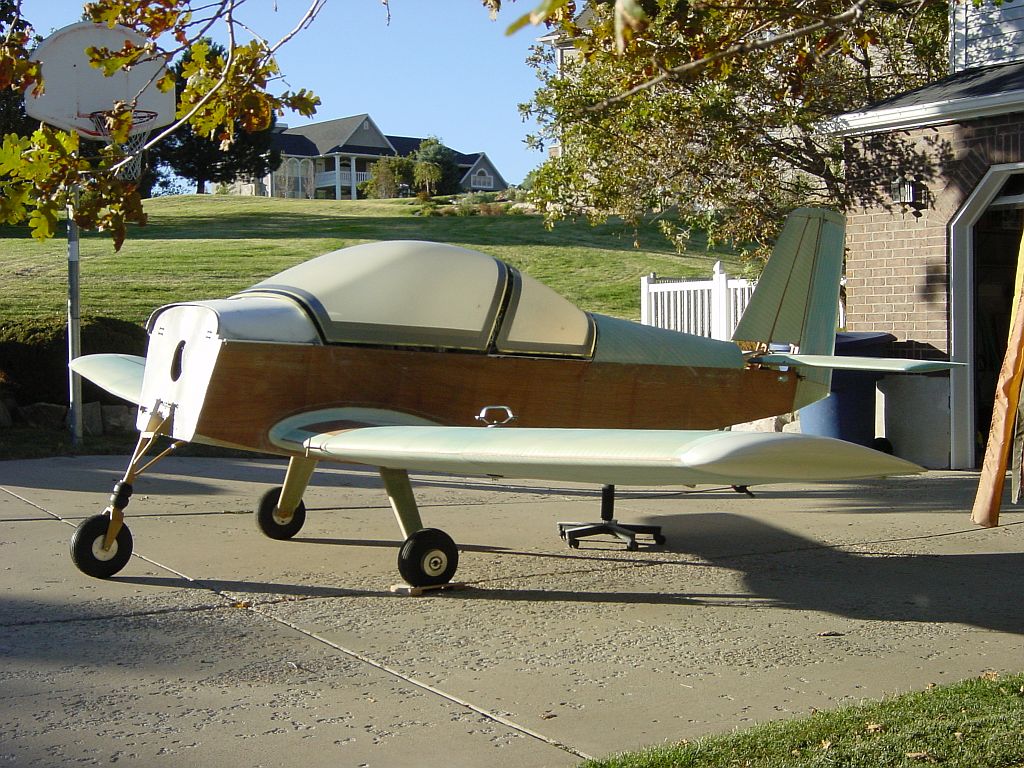
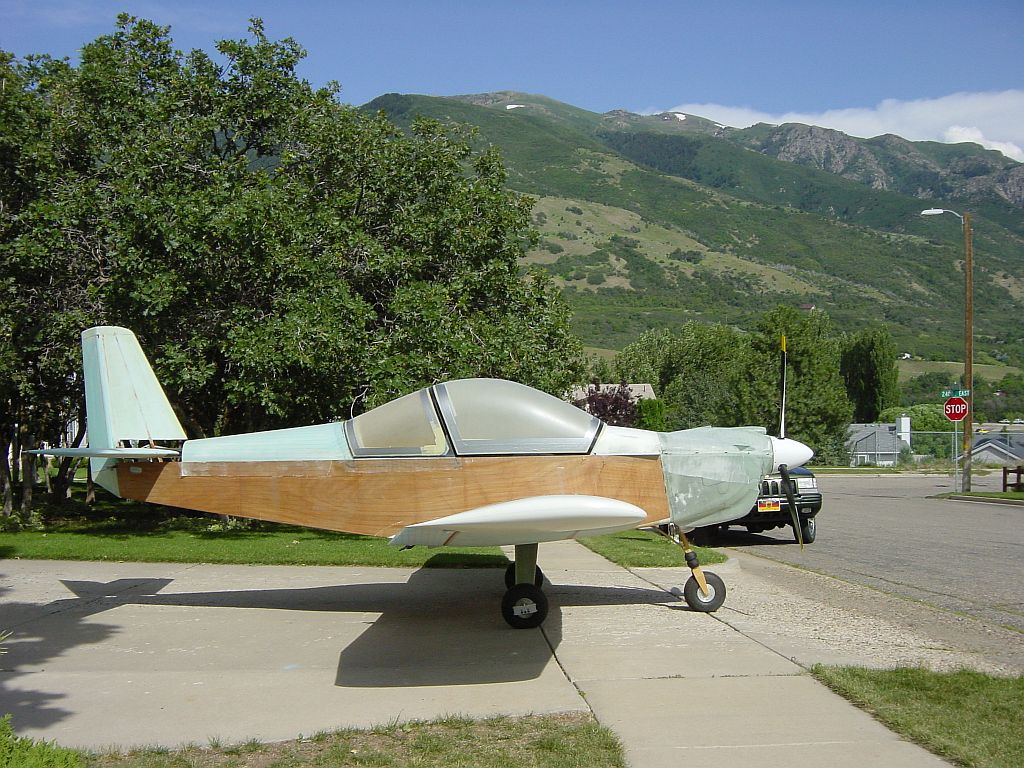
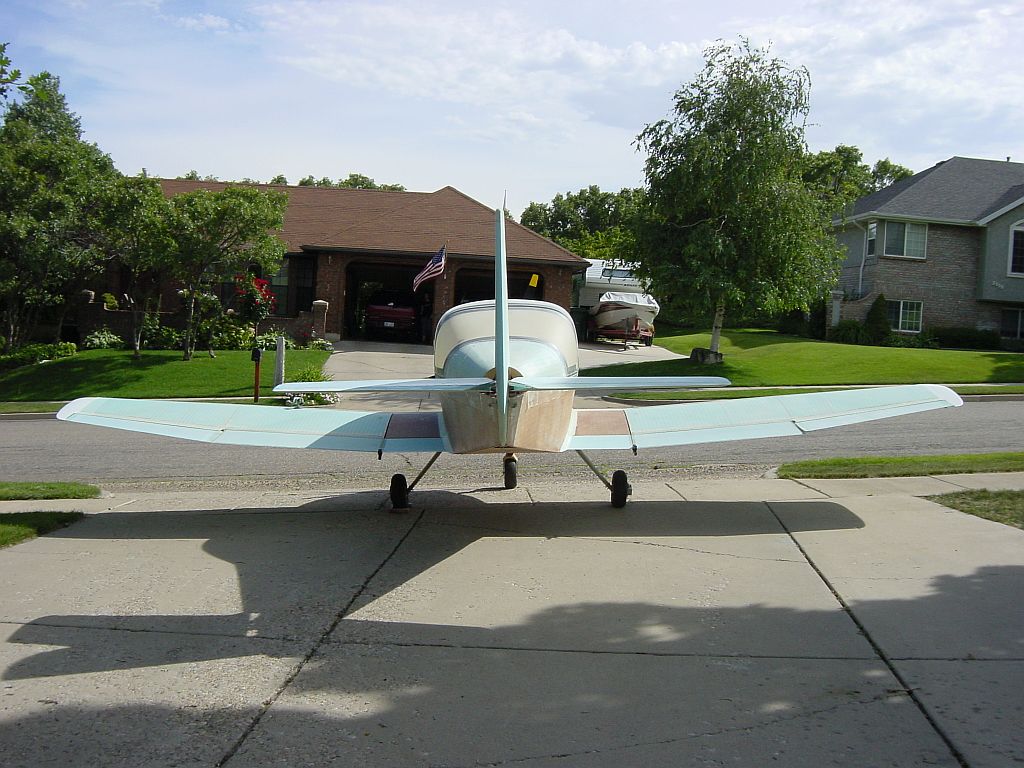
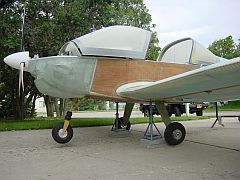
Side view
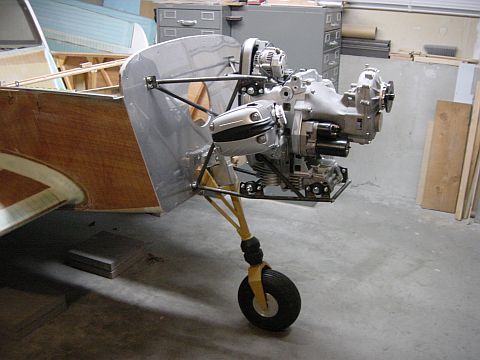
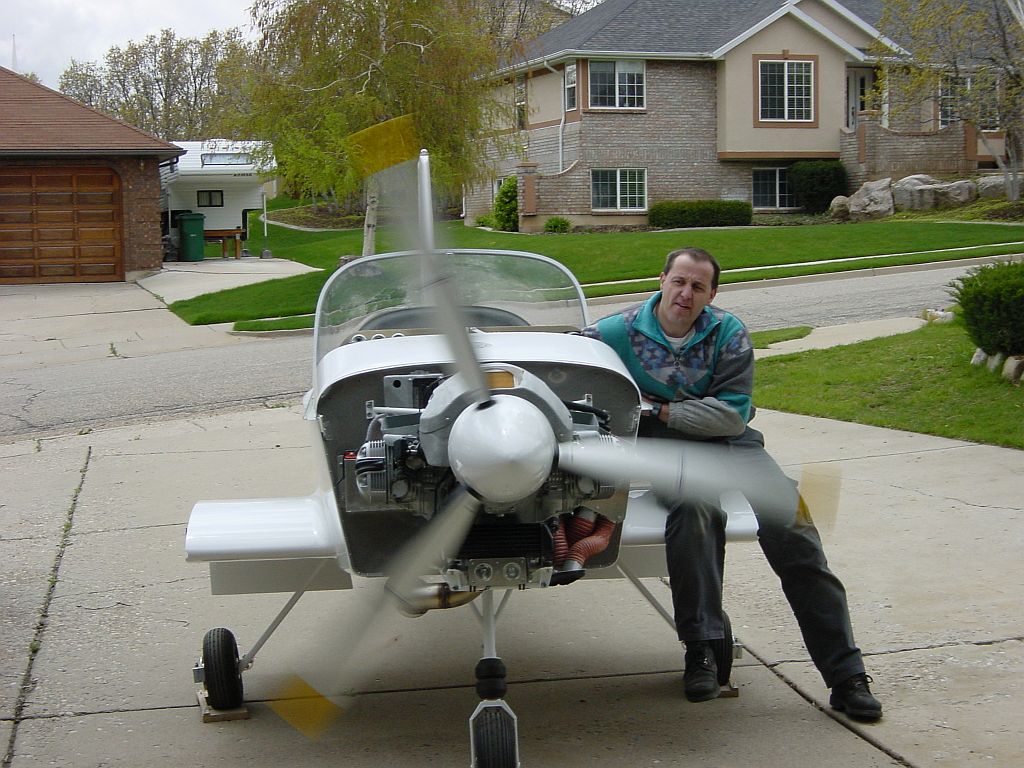
BMW R1100S engine (98 HP) and Hirth G40 gear
For details on the engine installation see - BMW Engine -

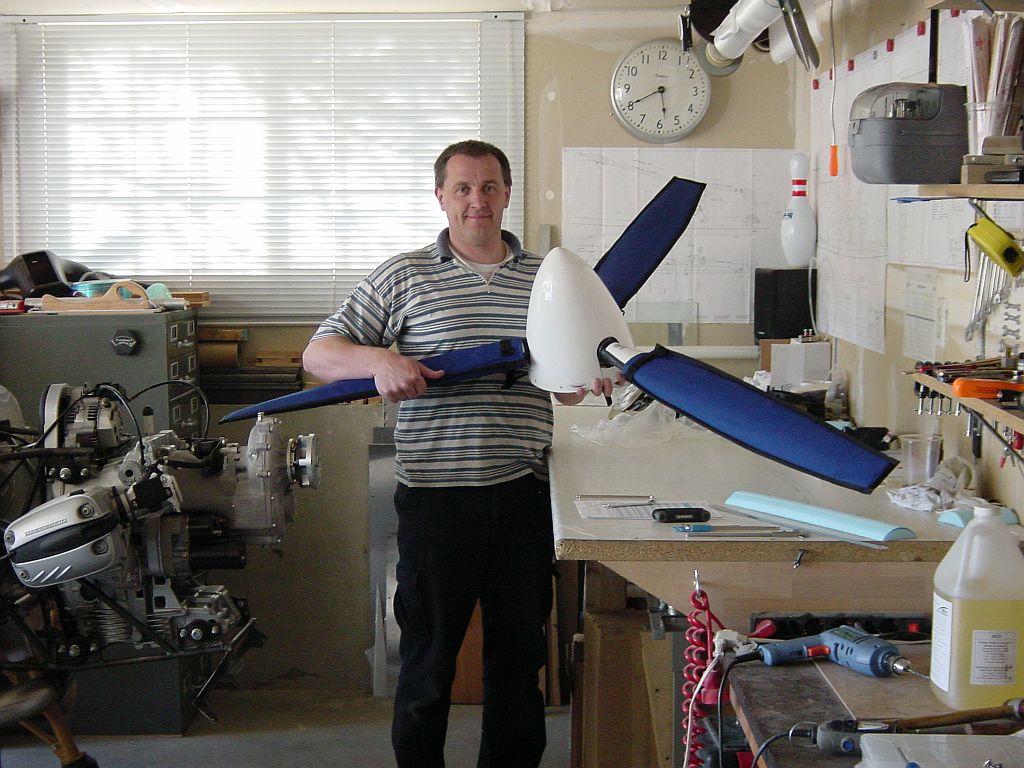
SR 3000 / 3 Propeller. A 3 blade constant speed propeller from www.woodcomp.cz
Data: Diameter 170 cm, Blade adjustment +25° to -22° for thrust reverse,
max. 2650 rpm with electronic regulator. Price (May 2004) $ 3080. .
Building the Cowling
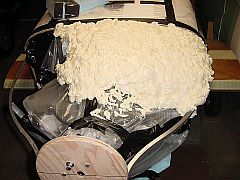 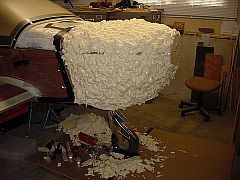
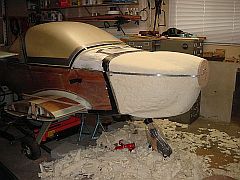 
Shaping
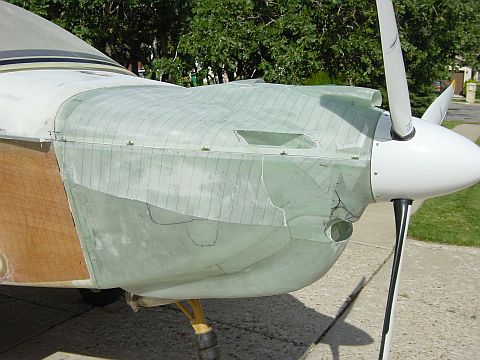
Cowling (for details regarding the air inlets - see BMW Engine )

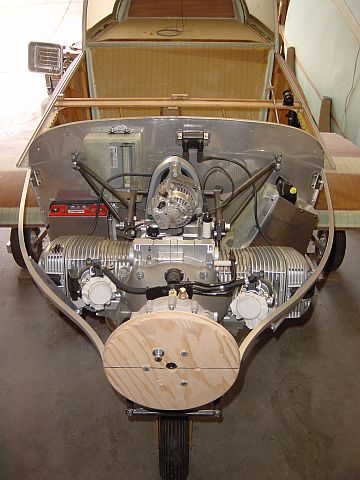
Side view
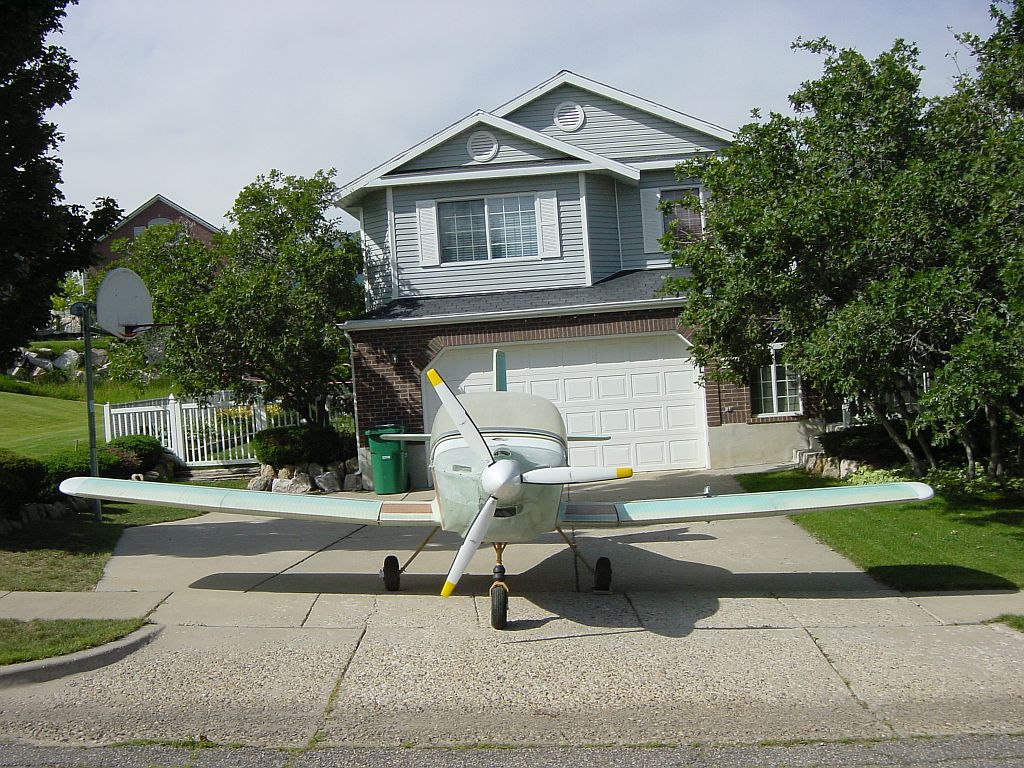
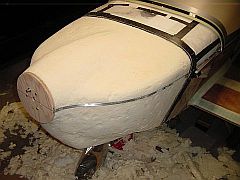
Front

Rear view
 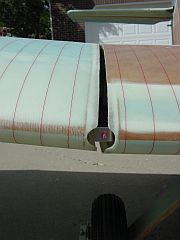
Wing - transition and safety latch for wing-bolt
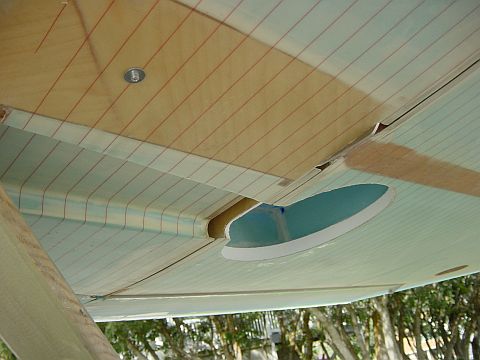
Main landing gear compartment
 Movie - retractable gear operation (.MPG) Movie - retractable gear operation (.MPG)
 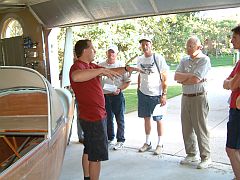
The local EAA chapter 58, Ogden, Utah meets on a monthly basis. As a chapter-member,
it was my pleasure to present my Cherry on one of the project patrol days.
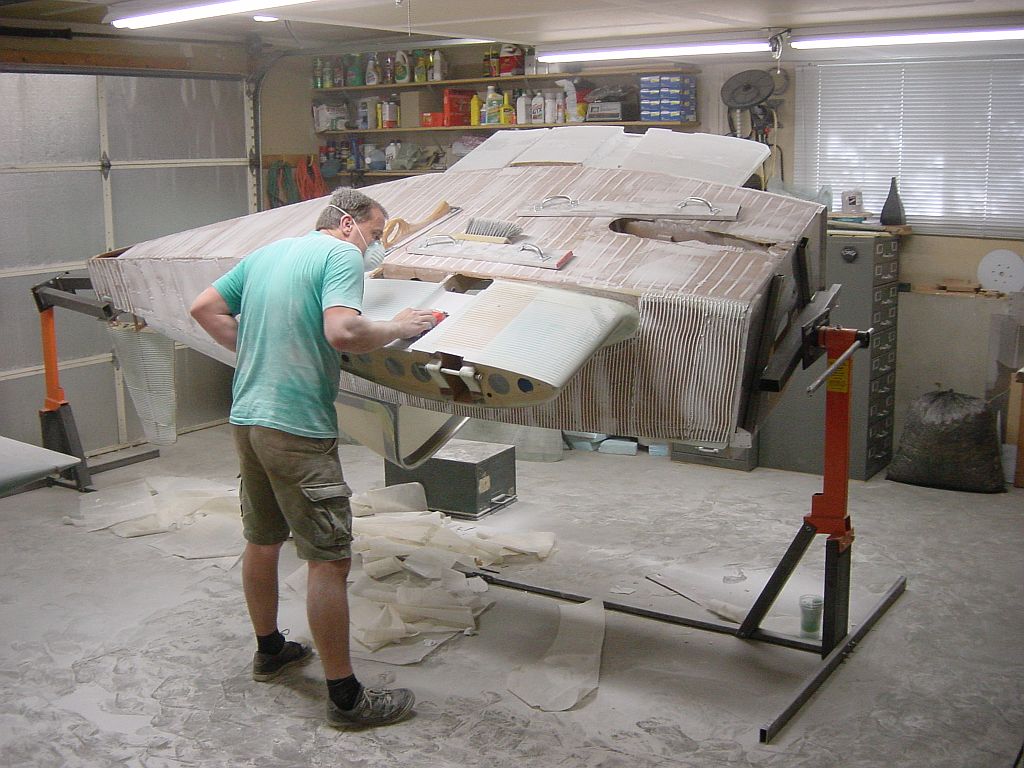
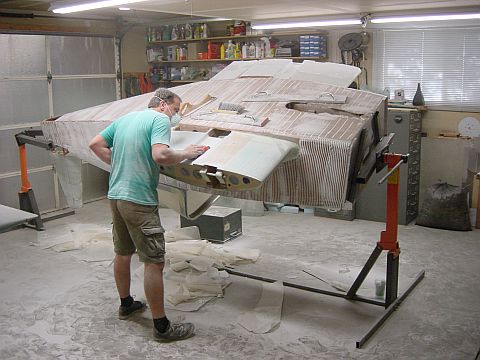
How can I get an optimized access for the finish?
Well, I decided to spend a day building a turning-fixture.
This way I can adjust the Cherry to any angle.
Well it is about time to thank Leopold Beham from Austria for his extensive remote support
he provided to me several times by sending detailed tips and descriptions via E-mail.
One of his helpful tips was mixing a small amount of Aerosil (silica from Degussa) to the epoxy-micro-filler.
Aerosil significantly improves the flow properties of the mix, which really eases work.
I discovered the way of applying the first layer using a notched trowel on Bart & Henk´s Europa-page.
It reduces sanding and material needed.
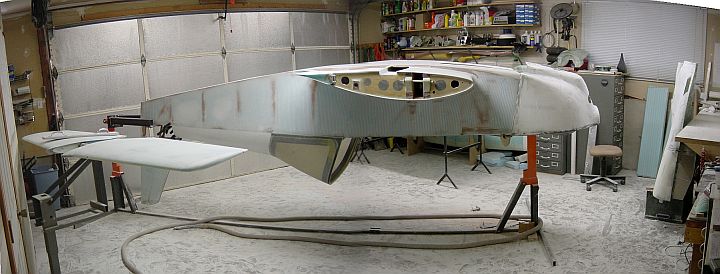
Sanding, sanding, sanding ...
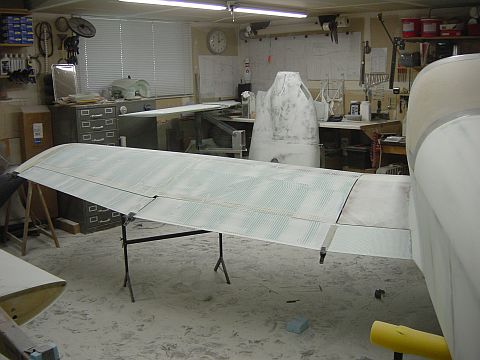
Sanding both wings and building the tail fairing and all parts will be ready for the spray-filler.
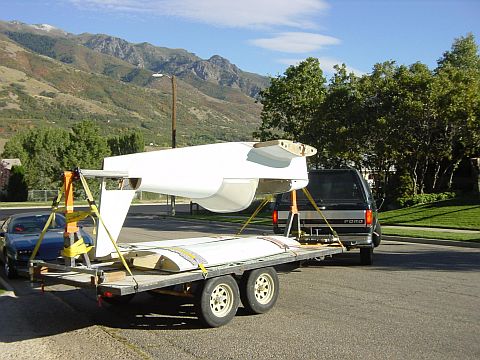
Once again, David Gardiner´s helping hand hauling the plane to the paint shop.
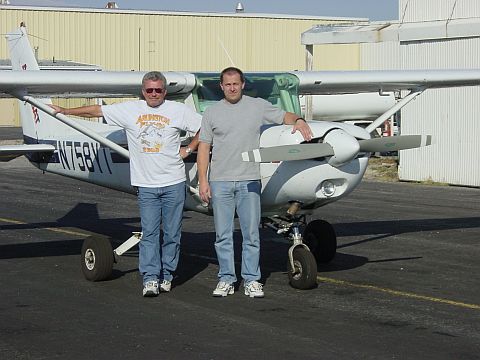
Finally, my Cherry is in the paint-shop and I take the time having flying lessons with my instructor Rand (left)
in the beautiful “Rocky Mountain scenery”. Yes, right - I build before I started flying.
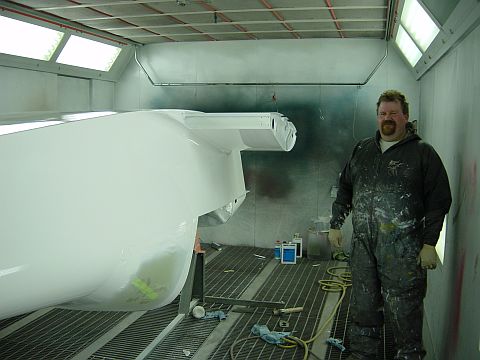
Kenny did a great job painting the Cherry. My turning-fixture eased his job as well.
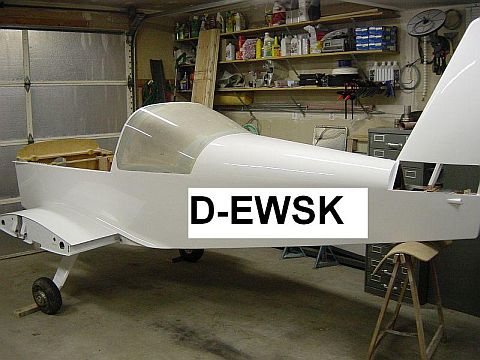
The Cherry returned home for final assembly. I projected the call sign for now.
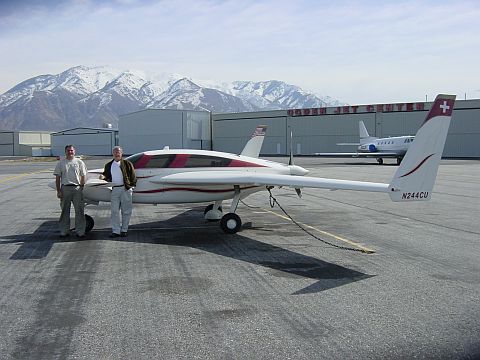
Ueli Christen and his nephew Martin came to visit me from Florida during a USA trip with Ueli´s Velocity.
When I took a ride with Ueli :-)), I was convinced 175 kts (cruise) is an appropriate speed to explore this wide country.
Eventually it comes together...

First engine run - super!!!
I assembled the Cherry once again just a few days short of our “emigration” to Germany.
We are emigrating rather than moving back according to German customs, since we have
been living in Utah for 4 years.
 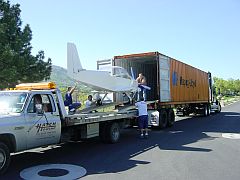
 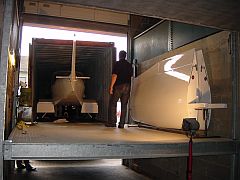
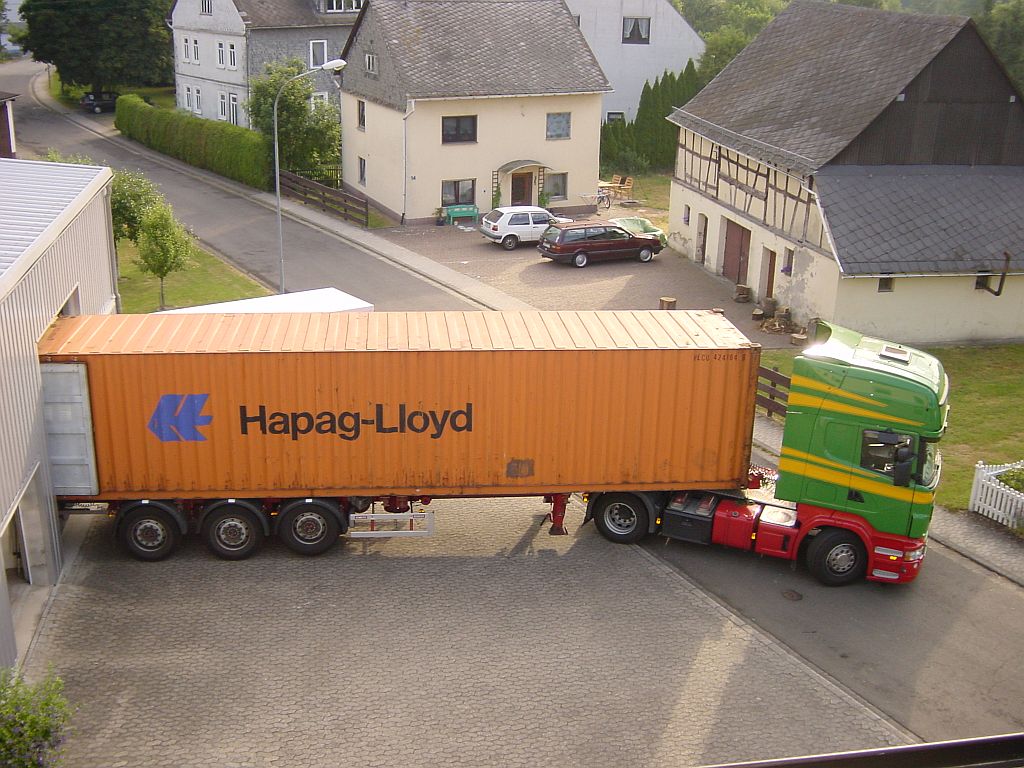
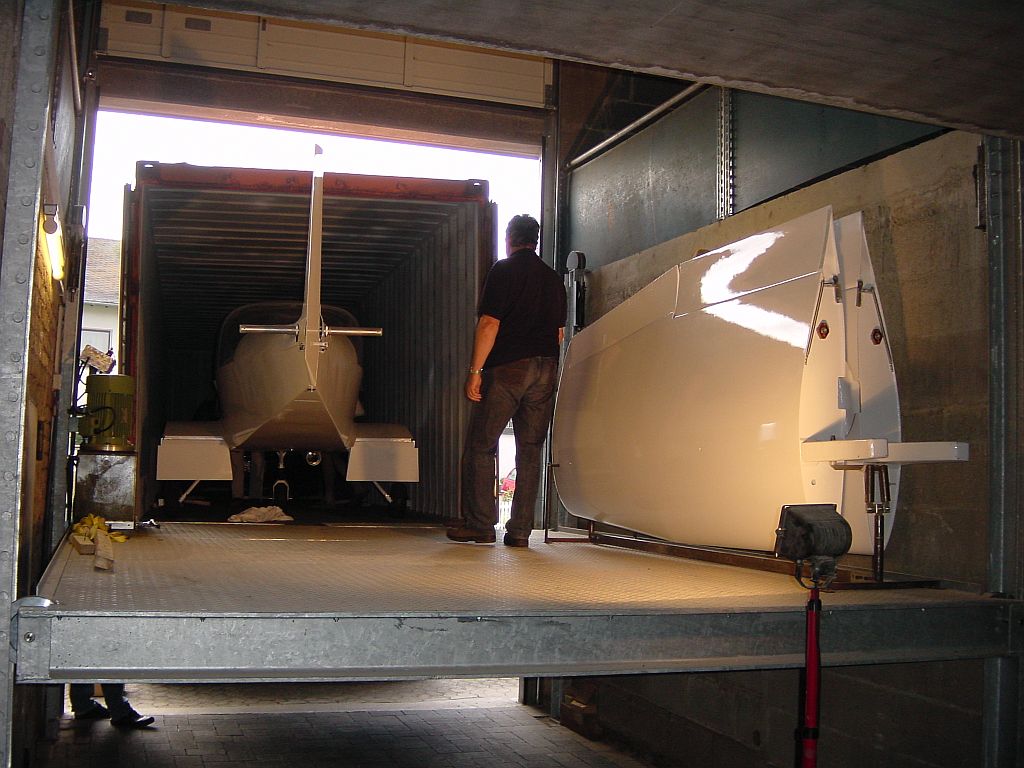
My Cherry arrived in Germany without any damages. I installed a g - counter to get an idea on how they handle those
Containers on tour. Even though the counters are sensitive to shock loads, only minor loads occurred.
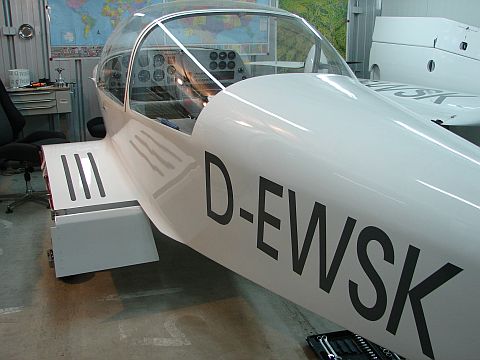
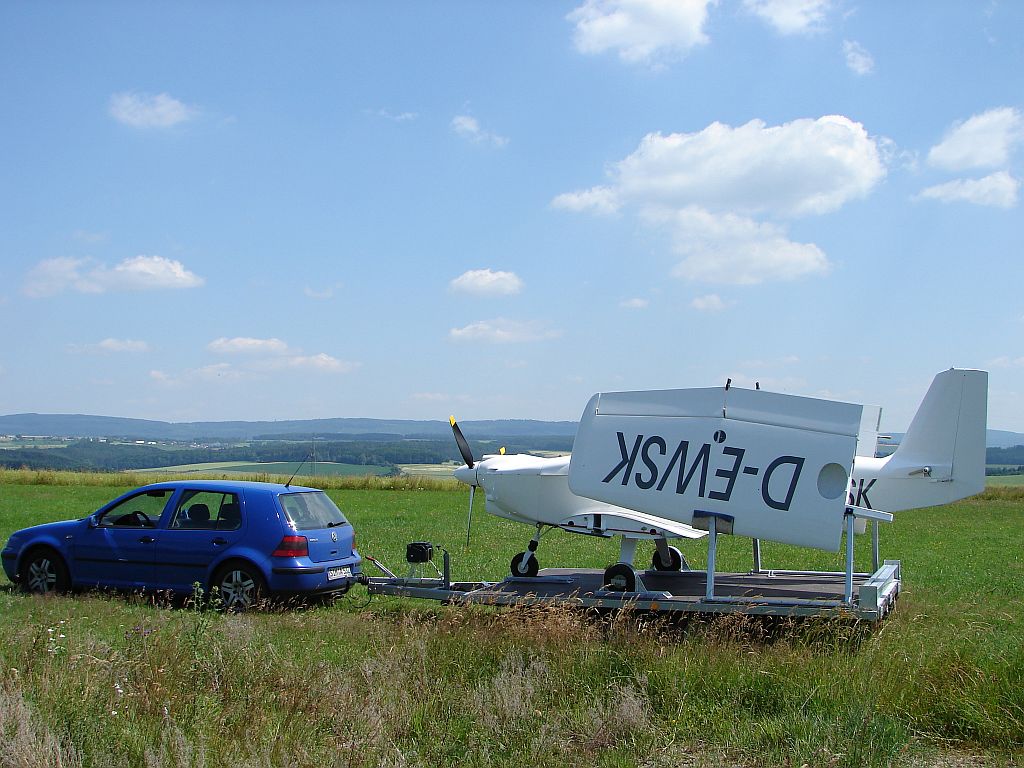
Supported by Dr. Helmut Buecker (Cherry, D-ETHB) for airplane data and Peter Holland (Pulsar, D-EPJH)
providing up to date forms for the manuals (flight- and maintenance handbook, ground testing) I finished most
of the paperwork for my Cherry and as you can see I attached the call sign D-EWSK.
I had a setback due to bad news from Andreas, Switzerland. The centrifugal clutch on his BMW- Breezer (an Eaglesworld product) failed several times. Unfortunately, I purchased this brand too.
Now, I got some proven parts from Wilfried Bleidiesel (www.takeoff-ul.de ).
See details at BMW Engine / gear.
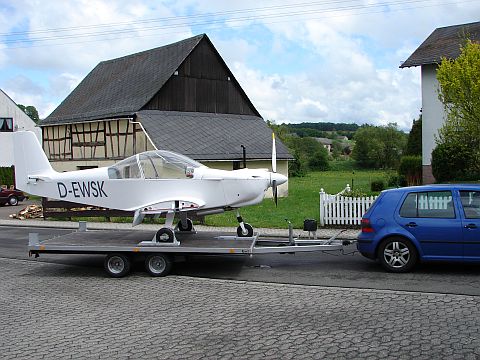
When the trailer was finished I went to the gas station. We filled the tank in steps of 5 liters in order to calibrate the gauge.
When I did some extended engine runs, I discovered a lack of cooling capacity in my construction.
At higher rpm the oil temperature exceeded 130°C.
Modifications to the cowling, cylinder cooling air ducts and the oil radiator were necessary
(see BMW engine - engine cooling)
Well, problem solved , now it is about time to head to the airport.
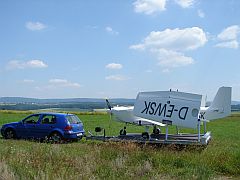 
 
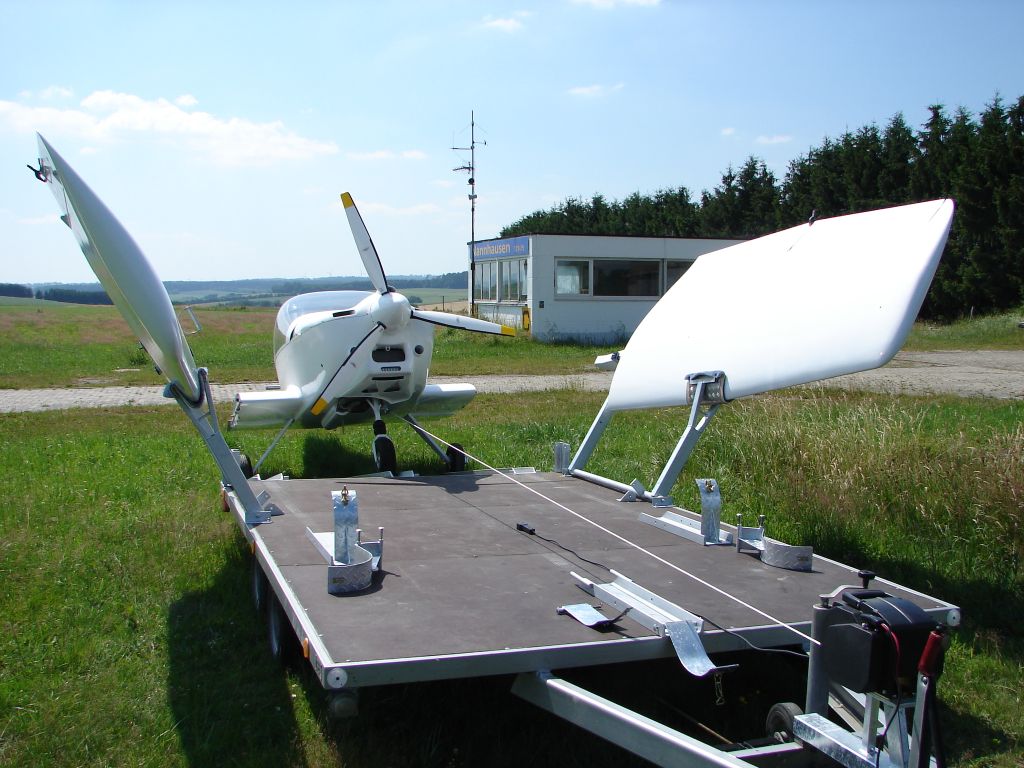
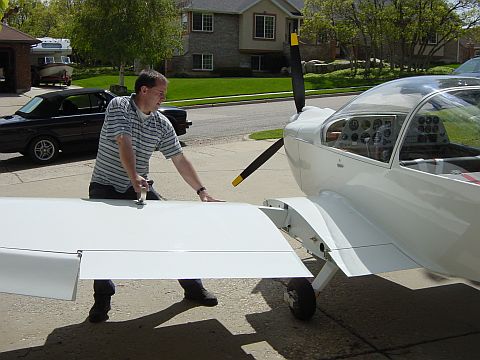
Since I was the only one at the airfield that day, I had the opportunity to unload and assemble the Cherry on my own.
It works great. Handling the huge wing on windy days is a little tricky though.
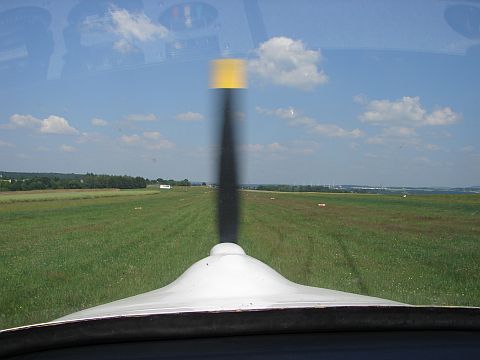
No, the plane is not cleared yet... just performing taxiing trials...
 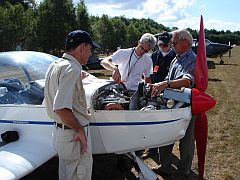
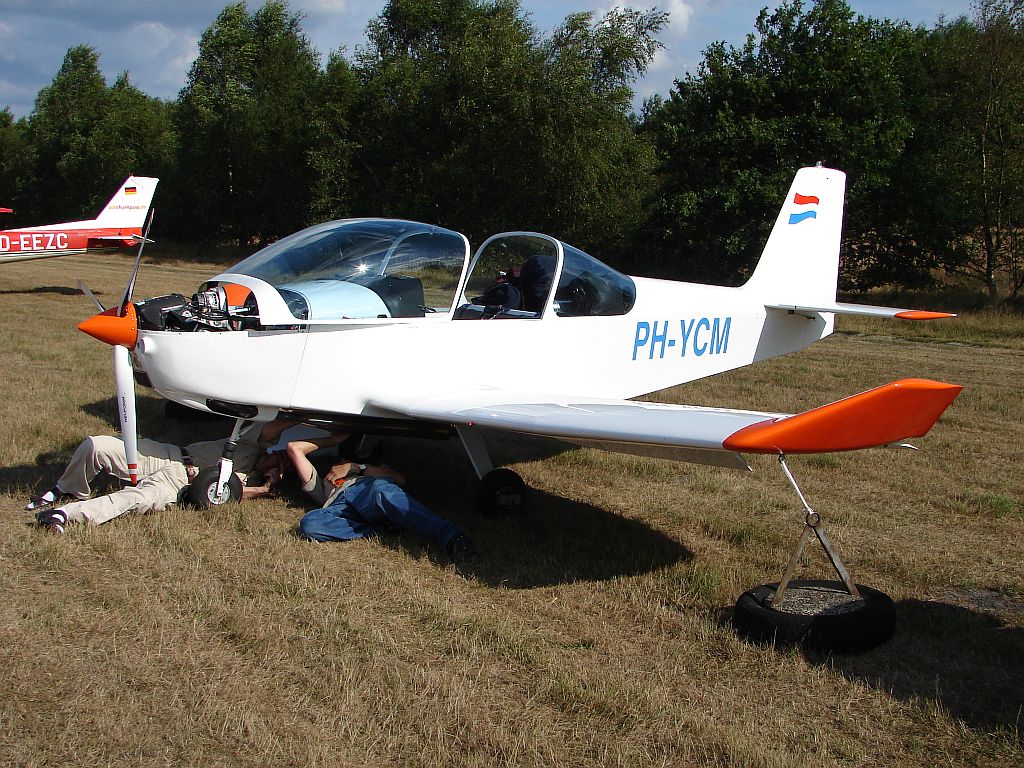
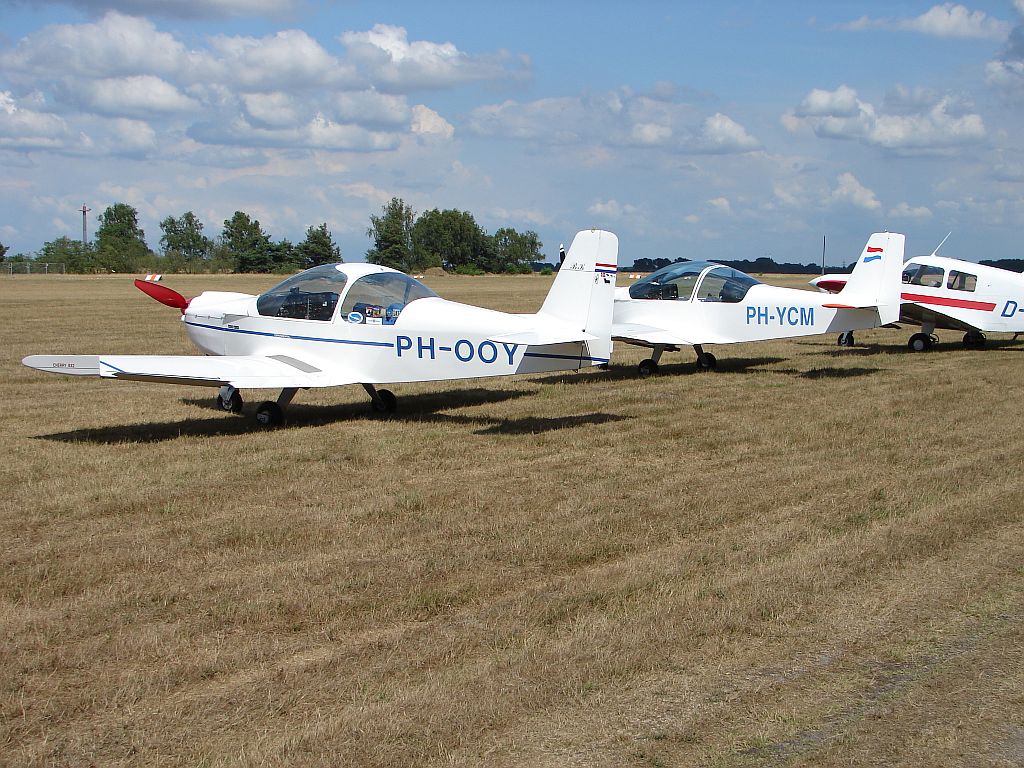
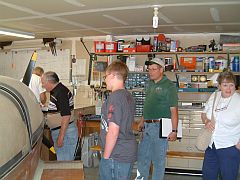
Meanwhile, I had a very interesting meeting with 4 Dutch BMW-Cherry enthusiasts.
Picture 2 (starting left) Jan Hermsen (PH-AMJ-building), Andre Gremmen (PH-TBJ-building),
Berry Schoenmakers (PH-YCM) and Bart Kroes (PH-OOY). We need to repeat that!

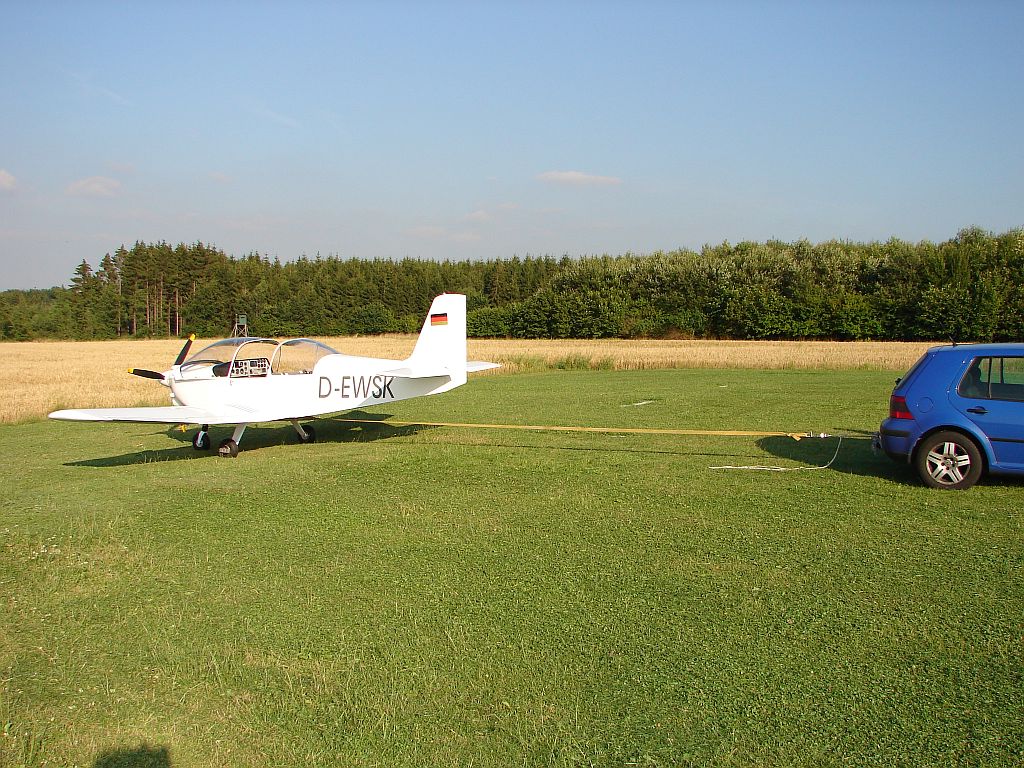
The last step for ground-testing was a pull, my Cherry against my car.
Well there was no winner, but the tension meter showed 2000 N (204 kg).
This concludes ground-testing. My inspector Mr. Moeller www.flugzeugwerft.com approved
the acceptance test of my Cherry. Now I am going to send the documentation to the OUV
expert Dr. Ing. Bernhard Hinz for evaluation and to edit the 2nd survey report. Once all
documents are complete, our Luftfahrt-Bundesamt will issue a permit to fly.
I received the permit to fly my Cherry!
It took way longer than expected, because I did not provide all papers necessary.
Well, registering an Experimental is just not a routine job...
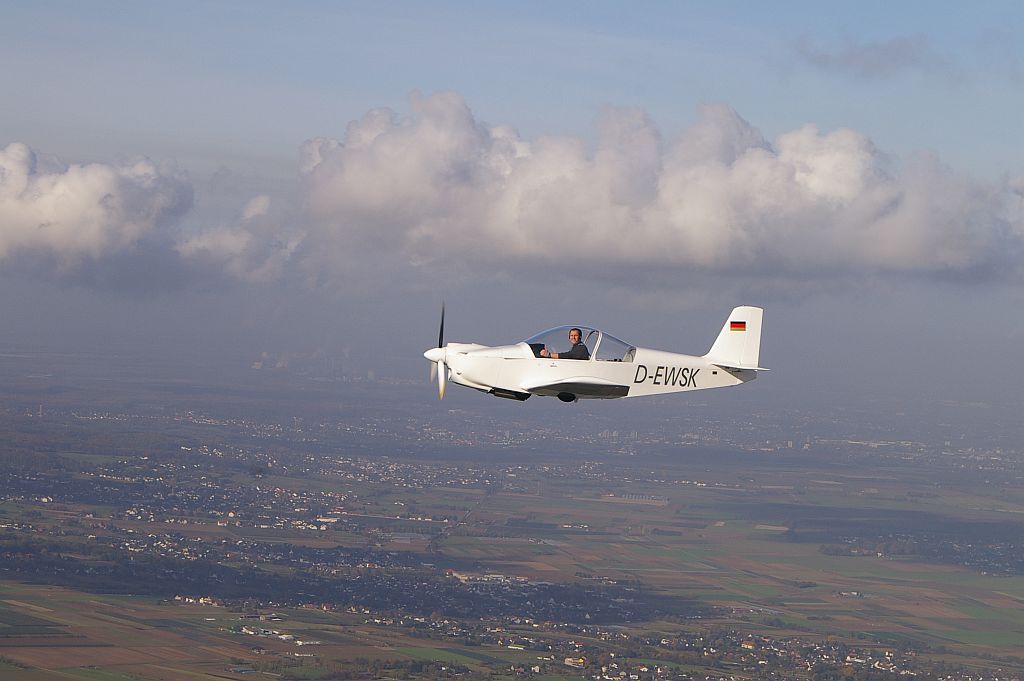
After many years of hard work (actually, most of the time was fun), I finally finished building my little airplane.
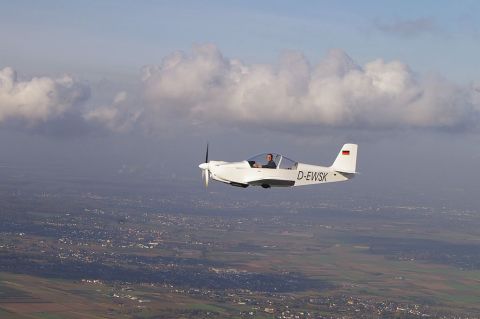
I performed the first flight of my Cherry D-EWSK on November 10th 2006.
Alois from Austria accompanied the event and took some pictures.
I flew for 46 minutes and the plane performed great!!!
This concludes the building part of my project. Further events are posted in the
”Cherry flying” section.
Resume:
1. I did not count the hours necessary to build my plane -> approximately 5000 +
Building a plane is a deeply rewarding and ingenious engagement, but -
actually flying your self made plane is a very special pleasure.
2. Though, I did precisely count the money spent for the D-EWSK -> Bill in Euro(German)
I spend about 40% of the money for instruments and specials, not really necessary / mandatory for flying.
Max Braendli stated: “Stick to the plans, or the plane will become heavier and more expensive” - Max is right...
For some comfort I also neglected the principle that a plane is not optimized once you can not add anymore
but rather when you can not leave anymore off.
Obtain a Cherry-Builder-File with a License at www.bx-2.de

|